


A throw with an approximate size of 5 x 6 feet (Don't worry if it is larger, it will only result in a longer cape size)
One pair of sharp fabric scissors
Measuring tape
Tailor's chalk
Wool yarn
Tapestry needle with a large eye
Step 1
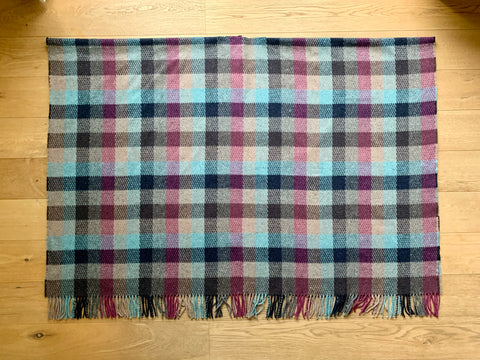
Lay the throw flat.
Fold it in half lengthwise. This will create your shoulder line.
Step 2

Measure halfway across the width at both the top and bottom.
Mark the measurements on one side of the folded throw with the Tailor's chalk, then join the dots vertically. The line should run straight up the centre of the folded throw.
Ensuring you are cutting only one side of the folded throw; cut vertically up the line.
Step 3

Measure 4 inches horizontally on either side of the cut at the top of the fold.
Mark each side with the Tailor's chalk, then cut along the fold to each point. This will create the opening for the neck.
Step 4

Using your wool yarn and tapestry needle finish the edges with a blanket stitch.

The finished piece!
Style your cape as above or using a belt or rope, circle your waist beneath the cape at the back, through the sides and around the front to enhance your waist's silhouette leaving the cape at the back to move freely.